If you have bothered developing your applications with Retina displays in mind, you know what a hassle it can be to deal with multiple copies of the same image. What if I told you, you could have one image that could scale up to any resolution perfectly, and still have a file size the same or smaller than a normal PNG?
Welcome to SVG.
What is SVG?
SVG (Scalable Vector Graphics) is a vector- based image format stored as XML data.
SVG is supported in all major browsers, including those on iOS and Android.
Why SVG is better than PNG for vector graphics
Normally we would save vectorized graphics made in a program like Adobe Illustrator as a .PNG file; however, PNGs, while they compress vector graphics quite nicely, don’t scale up well.
For example:
Width at 100%
Width at 250%.
In order to get your image to look nice on Retina without increasing load times on normal displays, you would need at least two versions of the same image at different sizes, and then you would need to account for each version of the image in your code.
With SVG, we can avoid this completely.
Using adobe illustrator to save a vector image as SVG
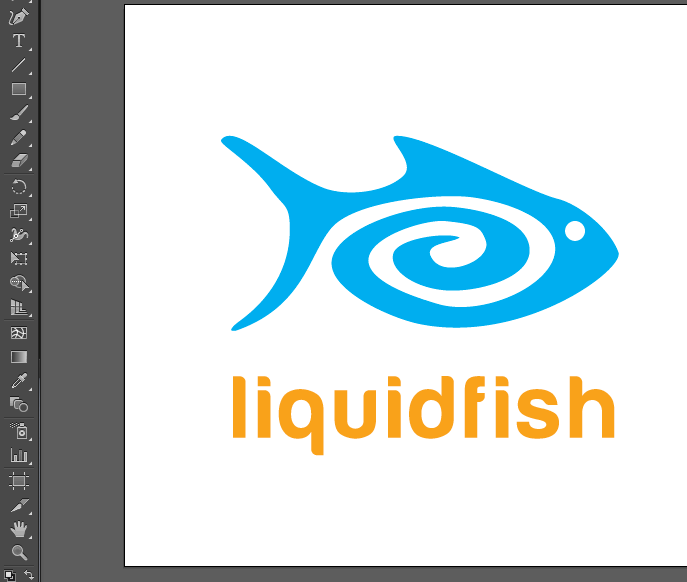
1. Open your file in Illustrator:
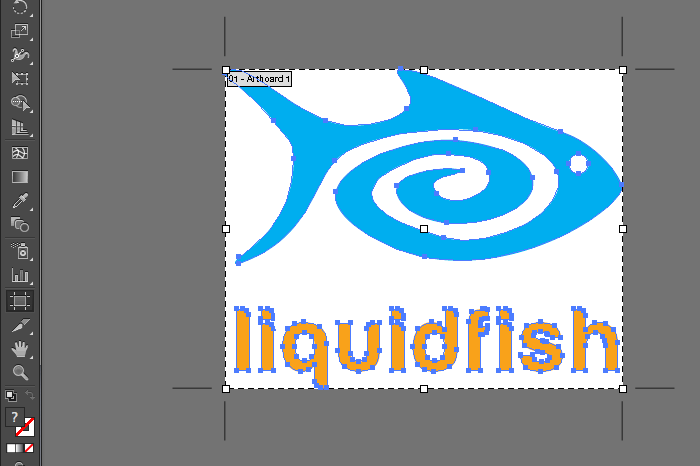
2. Using the Selection Tool (Hotkey V), select all of the objects in your image and group them (Command-G/Control-G).

3. Now we could go ahead and save the image, but we would have extra transparent space around the image due to the size of the Artboard. We can easily crop out the extra space by selecting the Artboard Tool (Shift-O) and double clicking our grouped object.
4. Now hit File, Save As, change the Format to SVG and Save!

Conveniently, HTML5 supports using .SVG files in tags.

Width and height can be defined with HTML/CSS the same way as a normal image file.
Your image will now scale up to any size without losing any definition!